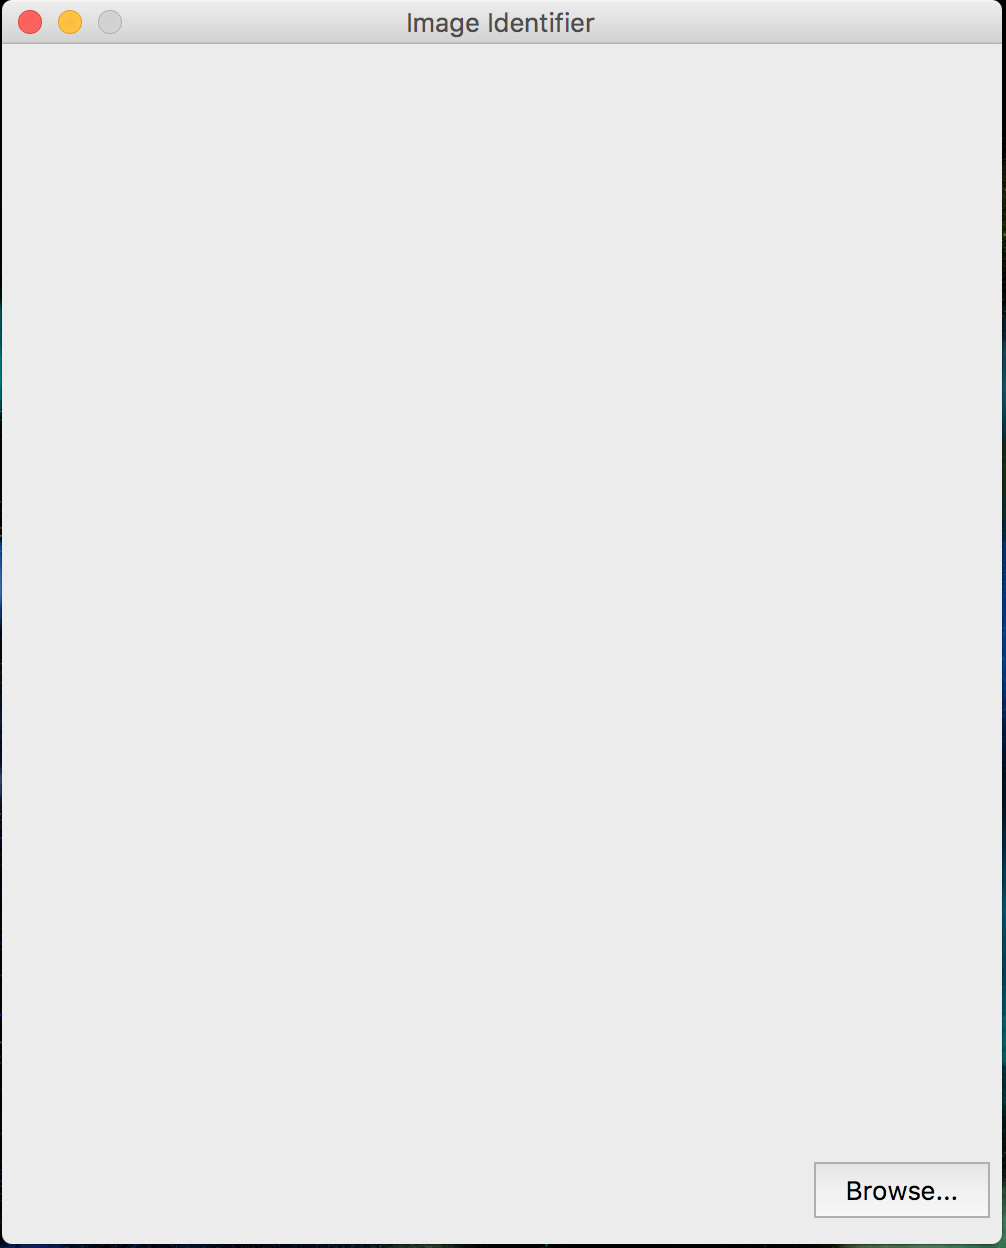
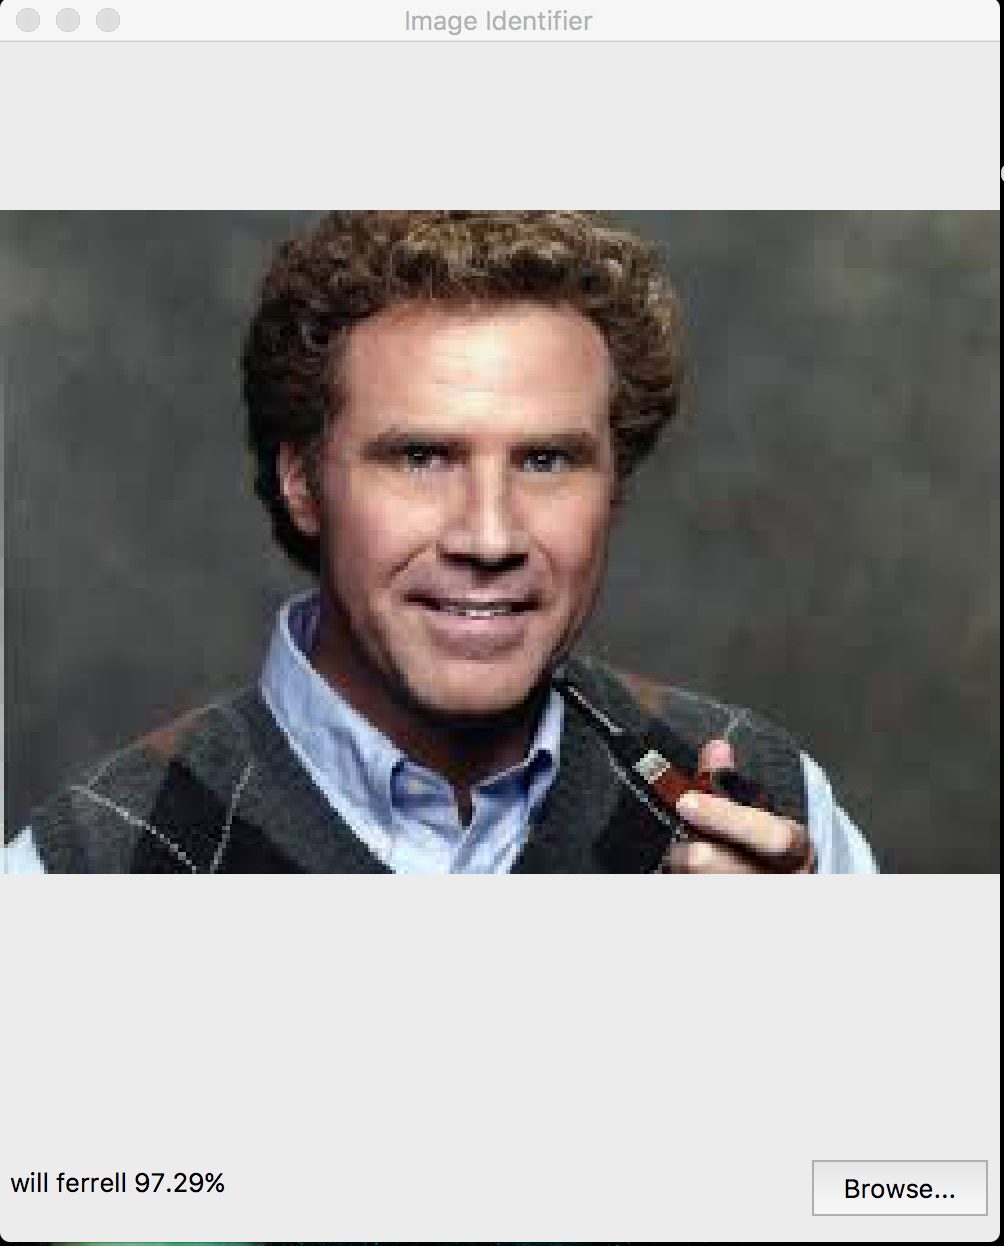
I’ve recently had some fun playing around with TensorFlow and retraining the inception model to identify images of myself or famous celebrities so I thought I would publish this two part tutorial on making an image classifier with a UI that allows you to upload images in order to classify them instead of going through the terminal as stated in all the TensorFlow tutorials. Here are a couple of images of what you can expect after you complete this series of tutorials:
Retraining Inception
Prerequisites
To retrain inception, you must have the latest version of TensorFlow for Python 2.7.x downloaded. This can be done easily by running the following command in your terminal:
sudo pip install --upgrade https://storage.googleapis.com/tensorflow/mac/cpu/tensorflow-1.2.1-py2-none-any.whl
If you do not already have pip you can install it quickly by running sudo easy_install --upgrade pip.
Retraining
Now that you have TensorFlow installed, navigate to your projects folder and create a folder called tensor(all your image classification files will be stored in here whereas your UI file will be stored outside this folder). Inside your tensor folder create a folder that will store all your images, and inside that folder create folders that are named after what you want to classify, for example your directories could look like this:
Program
|
|--tensor
   |
   |--Celebrities
      |
      |--Will Ferrel
      |--Will Smith
      |--Seth Rogen
You could then fill all of these folders with pictures of those celebrities. A quick way to do this is to download a chrome extension called ‘FatKun Batch Downloader’, which will allow you to download all the images on your chrome tab. I used around 120 images for each celebrity I wanted to identify in order to train the classifier, however if your computer has more space you could use a couple of hundred or even thousand images for each celebrity(or images you want to classify), making your classifier more accurate as more training data would be used.
So now you have TensorFlow and your images, make sure you’ve navigated to your tensor folder, and let’s get the retraining script. All you need to do is run
curl -O https://raw.githubusercontent.com/tensorflow/tensorflow/r1.1/tensorflow/examples/image_retraining/retrain.py
and then run tensorboard --logdir training_summaries & to start tensorboard.
All you need to do now is run:
python retrain.py \
  --bottleneck_dir=bottlenecks \
  --how_many_training_steps=500 \
  --model_dir=inception \
  --summaries_dir=training_summaries/basic \
  --output_graph=retrained_graph.pb \
  --output_labels=retrained_labels.txt \
  --image_dir=Celebrities
If you want your classifier to be more accurate, you can increase your traing_steps from 500 to a higher number such as 5000 or 10000, it’s up to you.
And that’s it, your image classifier is trained, to use your retrained model, you can download a script that allows you to label the images using this command:
curl -L https://goo.gl/3lTKZs > label_image.py
At the moment, to run this script you must run a command in your terminal specifying the path of the image you want to classify and the script you want to run. This command looks like this:
python label_image.py path/to/image. However, in the next tutorial we will create a GUI so that you don’t have to use your terminal anymore and edit the label_image.py file slightly in order to pass results between our python scripts.
Once again, you can find all the files and code on my Github at https://github.com/royabouhamad/TensorFlow-Image-Identifier and feel free to comment or reach out to me on LinkedIn with any feedback or questions. Thanks for reading and hope to see you in the next part of my tutorial series.